
How to Prepare Your Space for a Matterport Scan
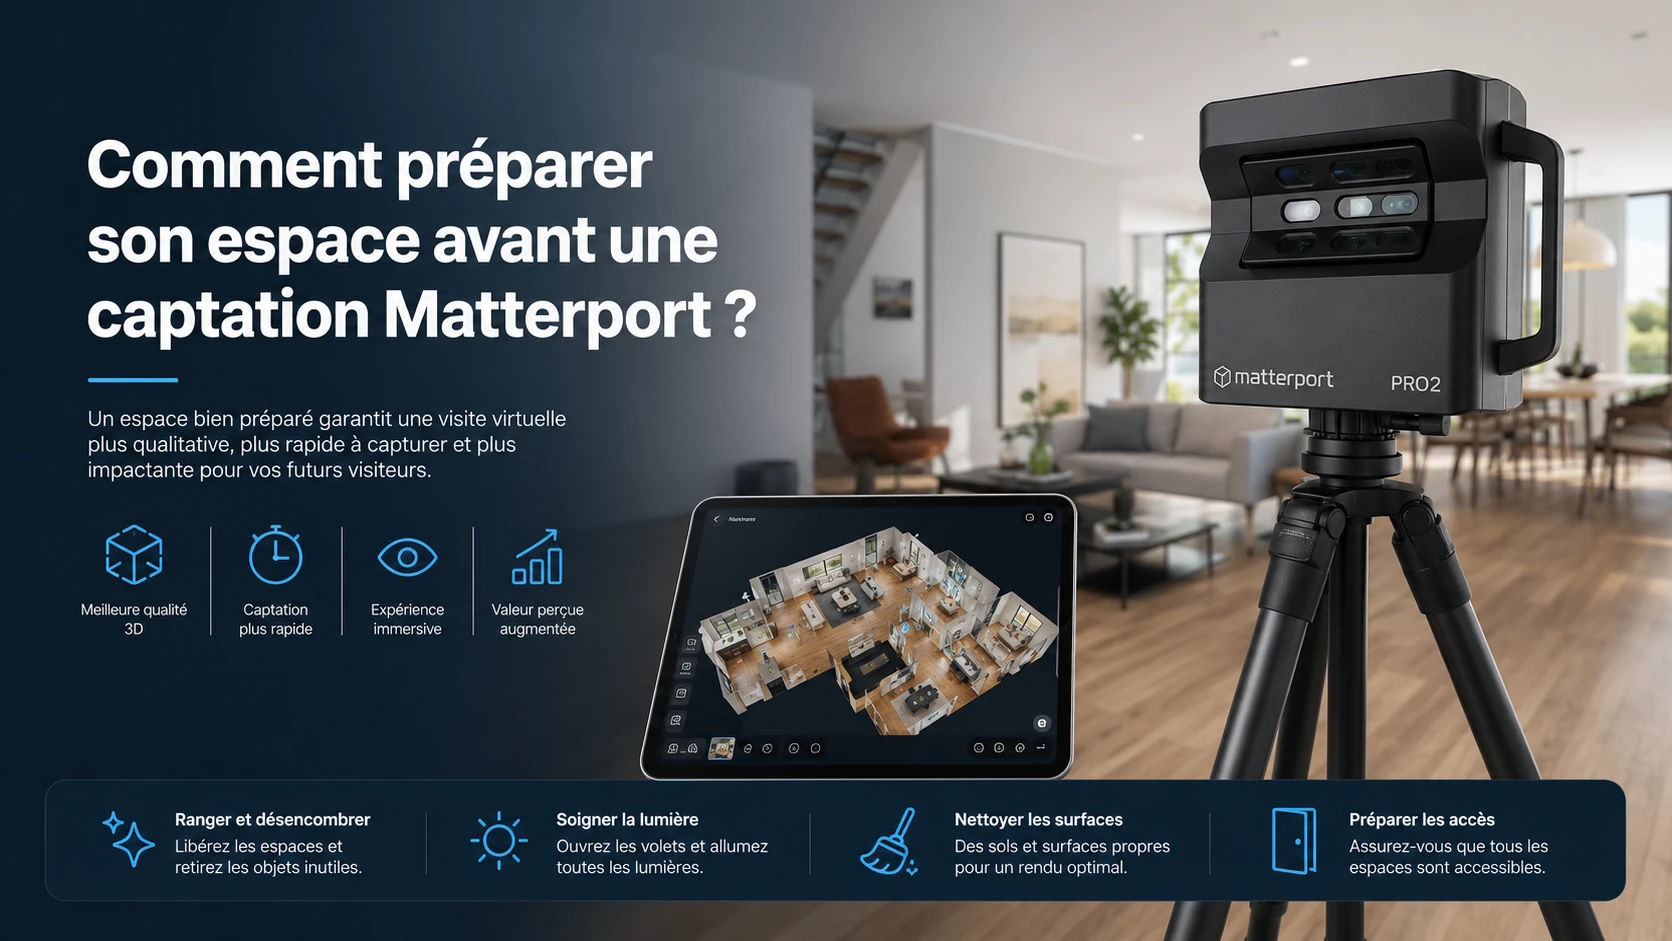
A Matterport virtual tour reproduces a space as it appears at the time of the scan. Preparing the premises therefore plays an important role in the quality and clarity of the final result.
There is no need to completely transform your home or business premises. A few simple checks can, however, prevent temporary objects, cluttered areas or confidential information from remaining visible in the virtual tour.
Here is how to prepare a space effectively before a Matterport scan , whether it is a home, office, shop or professional building.
Why prepare the premises before a Matterport scan?
During a Matterport scan, the space is captured progressively from a series of different positions.
Anything visible in the rooms may therefore appear in the final tour: furniture, objects, documents, signage, equipment or decorative elements.
Unlike a traditional photography session, where a limited number of viewpoints can be selected, a virtual tour allows the visitor to look in different directions and move through several areas.
Good preparation therefore helps create a clearer, more consistent representation that is better suited to the purpose of the project.
1. Remove temporary or unnecessary items
There is no need to empty the premises completely. On the contrary, furniture and certain objects often help visitors understand how the space is used.
However, items that create a sense of clutter or add no value to the presentation can be removed.
- boxes and packaging;
- bags or personal belongings;
- temporary cables lying on the floor;
- cleaning equipment;
- highly visible bins;
- temporarily stored items;
- documents or supplies left unnecessarily on visible surfaces.
The aim is to keep the space natural, while making it visually clean and easy to understand.
2. Remove confidential information
This is one of the most important points, particularly in offices, medical practices, administrative areas or professional buildings.
A 3D camera records the visible environment. It is therefore best to remove or conceal any information that should not appear in the tour.
- files containing personal information;
- administrative documents;
- customer or patient names;
- boards displaying internal information;
- visible passwords;
- badges or identification documents;
- confidential commercial information.
If in doubt, it is better to remove the item before the scan rather than relying on a later correction.
3. Limit the number of people present during the scan
To create a consistent tour, the camera is moved successively through the different areas.
Frequent movement by people can make the capture process more difficult and create inconsistencies between consecutive scan positions.
Whenever possible, it is therefore better to schedule the scan during a quieter period:
- before a shop opens;
- after closing time;
- during a period of low footfall;
- when some employees are away;
- when a home is temporarily unoccupied.
The exact schedule naturally depends on the type of premises and its activity.
4. Check the lighting
Consistent lighting contributes significantly to the overall perception of a space.
Before the scan begins, check that the relevant lights are working and that the different areas are presented consistently.
- replace any failed bulbs;
- switch on the lights that contribute to the atmosphere;
- avoid changing the lighting during the scan whenever possible;
- open or close blinds according to the desired effect;
- check rooms that are naturally very dark.
The aim is not necessarily to switch on every light, but to maintain a consistent atmosphere throughout the entire scan.
5. Decide which doors should remain open
Doors have a direct influence on how circulation through the space is understood.
An open door generally makes it easier to understand that one space connects to the next.
Before the scan, it is therefore useful to decide which areas should actually be accessible in the final tour.
Show continuity
An open door makes it easier to understand the route between several rooms.
Exclude an area
A room that should not be shown can remain closed and be excluded from the scan route.
6. Pay attention to mirrors and reflective surfaces
Mirrors, glazing and glossy surfaces are naturally present in many spaces. There is obviously no need to remove them.
They simply require additional attention during the scan, because they can reflect people, objects or other elements located outside the immediate field of view.
Before the appointment, check what may be visible in large mirrors, display windows or highly reflective surfaces.
7. Prepare any visible outdoor areas as well
If the tour begins at the entrance, on a terrace, in front of a shop window or in an outdoor area, these spaces should also be taken into account.
- keep the entrance clear;
- remove temporary items;
- tidy outdoor furniture;
- check visible signs or displays;
- where possible, anticipate vehicles that may obstruct the presentation of the premises.
Weather conditions can also affect how certain outdoor areas can be captured.
8. Avoid changing the space during the scan
A Matterport tour is created from many scan positions captured one after another.
A chair moved between two scans, a door that changes position or an object added halfway through the process can create differences between views.
Once the scan has started, it is therefore best to keep the general configuration of the space as stable as possible.
9. Check access before the service provider arrives
Effective preparation also includes the practical organisation of the appointment.
- access to the building;
- any required keys or access badges;
- access to the different rooms;
- authorisation to enter the relevant areas;
- availability of a contact person if necessary;
- any parking or delivery constraints.
These points may seem secondary, but checking them helps avoid interruptions or areas that cannot be captured on the day of the appointment.
The checklist to review the day before the scan
A final check is usually enough to prepare the space efficiently.
Tidy up
Remove temporary items and check the main visible surfaces.
Protect
Conceal or remove confidential information and personal documents.
Check
Check the lighting, access and the areas that should be included in the tour.
Organise
Whenever possible, choose a time with limited movement through the areas being scanned.
What happens on the day of the Matterport scan?
Before starting, the areas to be scanned and any areas to be excluded are confirmed.
The camera is then positioned successively throughout the different parts of the building. Each position contributes to progressively building the virtual tour.
During this phase, unnecessary movement through the areas being scanned should be avoided.
The duration of the appointment depends in particular on the floor area, the number of rooms, the number of levels and the overall configuration of the site.
What happens after the scan?
The captured data is then processed to generate the virtual environment.
Once the tour is prepared, it can be viewed remotely and used according to the needs of the project: commercial presentation, real estate, building documentation, consultation by a project team or integration into a website.
To understand in more detail how this technology works, you can read our article about Matterport virtual tours .
FAQ: preparing for a Matterport scan
Do the rooms need to be completely emptied before a scan?
No. Furniture can actually help visitors understand the use and scale of a space. The main recommendation is to remove temporary, personal or unnecessary items from the presentation.
Can people remain on the premises during the scan?
Yes, but it is better to limit movement in the areas currently being scanned. Depending on the layout, anyone present can simply move temporarily to another area.
Do all the lights need to be switched on?
Not necessarily. The main objective is to maintain consistent lighting that suits the way you want the space to be presented.
Can certain rooms be excluded from the tour?
Yes. The areas to be scanned should be defined before the appointment. A room that should not appear can be excluded from the scan route.
What should I do with confidential documents?
It is best to remove or conceal them before the appointment. This precaution is particularly important in offices, medical practices and areas containing personal data.
How long does a Matterport scan take?
The duration depends on the floor area, the number of rooms, the number of levels and the complexity of the route to be scanned. These factors can be assessed before the appointment.
Do you have a space to scan?
Tell us the type of building, its floor area and the purpose of the tour. We can help you define the areas to capture and the preparation required before the appointment.